Our August project is the Woven Bias Placemat Craft Kit! This one is really satisfying to create, with a few different processes. (Posted Aug 2022)
First up, you'll create your own bias binding strips from soft polycotton fabrics, then weave them into a striking geometric placemat, before stitching into place.

If you've bought this project, you'll find your tutorial video below (the password is on the front of your printed instructions inside your box!)
There's something soothing about the repetitive and kinda magical process of cutting fabric into strips, then creating neatly pressed bias tape with them (we tested a number of different bias tape makers, and love this one - it's really effective!)
The kit also has a template to weave your placemat. You start with a number of loose pinned lines of bias tape, and in no time - with a bit of over, under, under, over, over (and so on!) - your geometric pattern takes shape.

Your box includes all the essentials for the project, with:
- Navy Blue Fabric
- Soft Grey Fabric
- Bias tape tool
- Sewing Needle
- Sewing Thread
- Sewing Pins
- Placemat template
- Step-by-step photo instructions & video tutorial online
- ...and some inspiration for your pinboard!
You'll need an iron, and scissors that will cut through fabric.

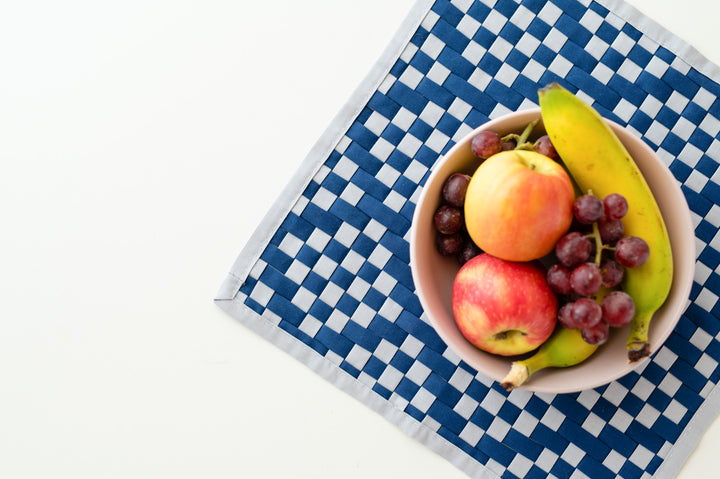
Your finished geometric placemat is perfect to keep or gift and, at approx 30 x 30cm, a great size for under key bowls or bowls of fruit, or for console or dining tables.
Ready to get crafting with us?

Alternative Instructions for the Blue 'Flower' Bias Tape Maker Tool
1. This the top of your bias tape maker - the flower should be facing upwards when you're using it.

2. The wider opening of your bias tape maker is where you will insert your pre cut fabric strips.

3. Feed the fabric strip through the wider opening, until it comes out of the narrower opening at the other end of your bias tape tool.


5. Feed the fabric through until 1-2cm is sticking out from the narrow end of the bias tape tool.

6. As you feed the fabric through make sure it is going into the tool evenly and not slipping to one side as shown here.

7. The fabric should go like this as it goes into the wider end of the bias tape tool - an even amount of fabric on both sides.

8. The bias tape will come out of the tool with the seam facing upwards. Use you iron to press the bias tape as it comes out, pulling the tool backwards as you do so by holding the plastic section with the flower on.